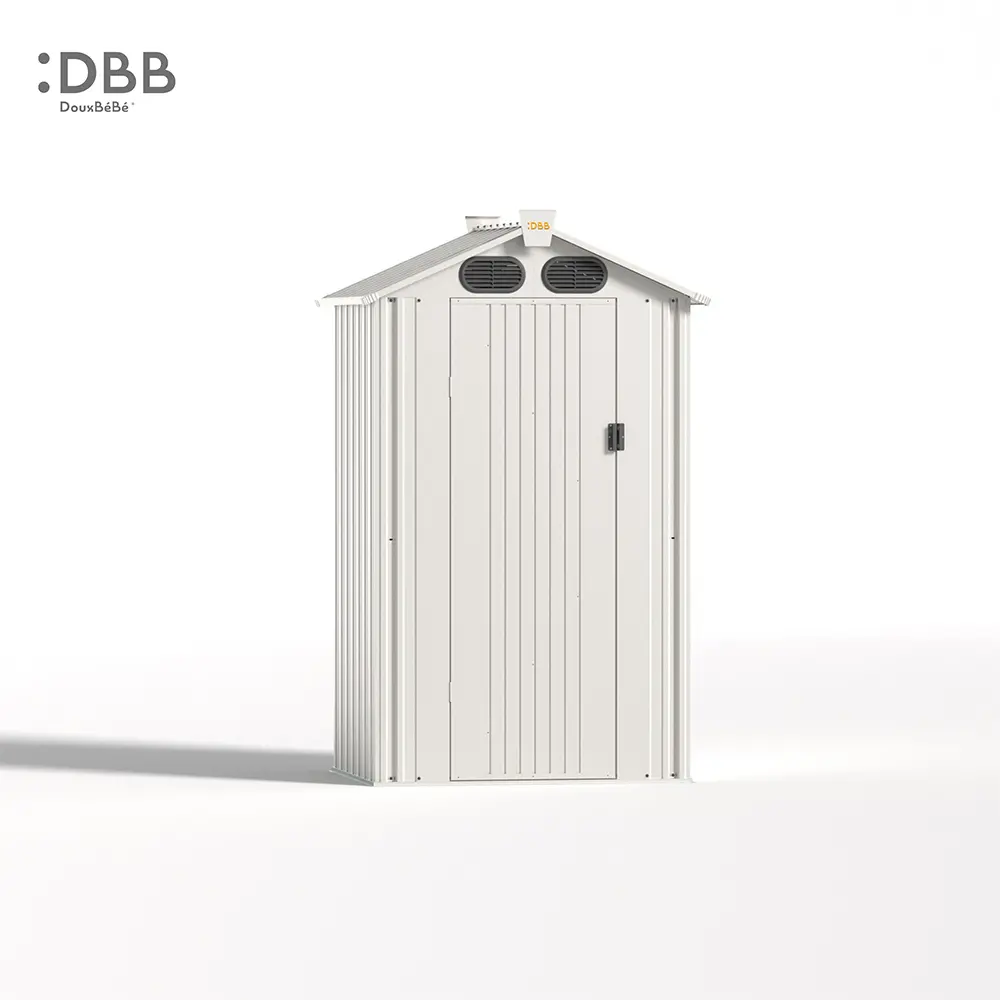
Installing an outdoor structure can transform a garden, patio, or commercial space into a more functional place to relax, entertain, or work. Whether the project involves a pergola, gazebo, pavilion, patio cover, shade structure, or garden shelter, however, the result depends on more than attractive materials and careful assembly. A successful outdoor structure installation starts with accurate measurements, suitable ground conditions, effective drainage, secure connections, and compliance with local requirements.
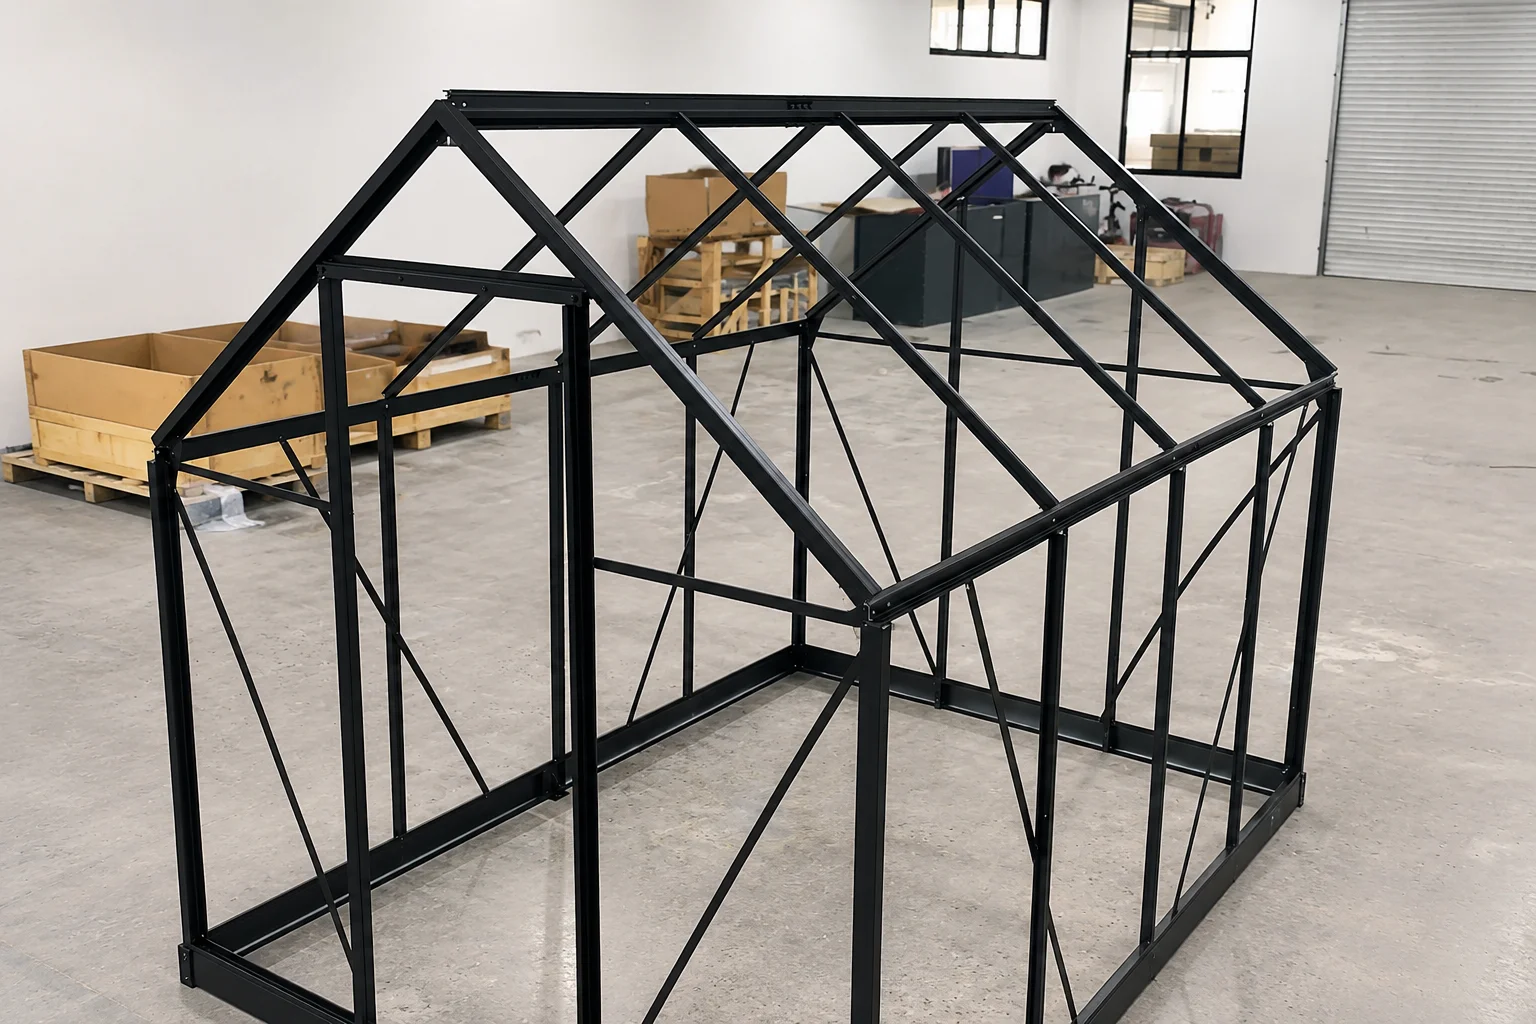
Many installation problems are preventable. A structure may arrive in perfect condition yet develop misaligned posts, water pooling, loose connections, or structural movement because the site was not properly assessed. These problems can increase costs, shorten service life, and potentially create safety hazards.
This guide explains nine common outdoor structure installation mistakes, why they happen, and how professional installers and homeowners can avoid them before, during, and after construction.
The aluminum versus steel choice also changes handling, corrosion protection, and connection details during installation.
Anchoring and fastener choices need extra attention in coastal environments where salt exposure can accelerate wear.
1. Skipping Accurate Site Measurements and Dimension Verification
One of the most common installation mistakes is assuming that the available outdoor space matches the dimensions shown on a product listing or preliminary drawing.
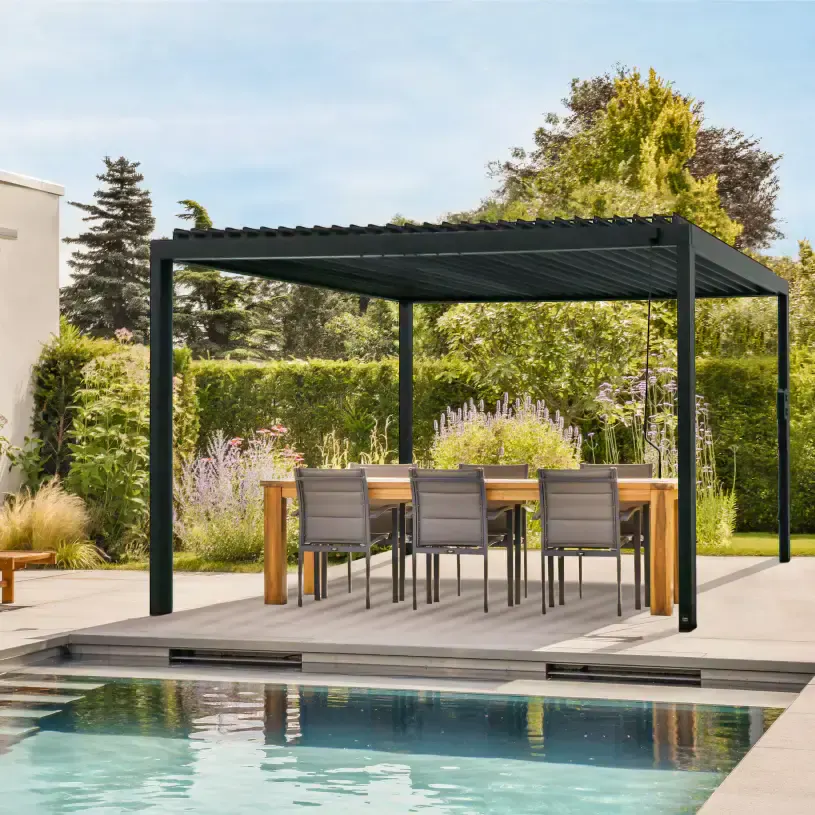
Why it matters: Product dimensions may describe the outside of the roof rather than the distance between posts. Roof overhangs, base plates, gutters, fasteners, and operating clearances can change the space required. A site that appears large enough on paper may not accommodate the installed structure.
How to avoid it:
- Confirm the manufacturer’s latest approved drawings and distinguish overall dimensions from post-center and foundation dimensions.
- Measure the installation area at several points rather than relying on a single width and length.
- Check diagonals to identify an out-of-square patio or foundation.
- Verify vertical clearance below balconies, eaves, trees, overhead services, and adjacent structures.
- Allow space for doors, louvers, retractable canopies, drainage components, maintenance, and safe installation access.
For contractors, a documented pre-installation survey helps prevent disputes and material rework. For homeowners, confirming the dimensions before ordering or pouring concrete is considerably easier than correcting a completed foundation.
2. Choosing a Location Without Assessing Site Conditions
An attractive location is not always a suitable installation location. Placing a gazebo on unstable fill, beneath overhead cables, or too close to a property boundary can create problems long after assembly.
Why it matters: Soil conditions, underground utilities, nearby trees, prevailing weather, existing structures, and access routes all affect installation feasibility. A level-looking lawn may contain soft soil or concealed drainage lines. A tightly confined corner may leave no room to install or maintain roof components.
How to avoid it: Conduct a site assessment that covers soil and slope, utility locations, excavation restrictions, access for materials and equipment, and any relevant setbacks. Identify buried services through the appropriate local utility-location process before digging. Consider how the site behaves during heavy rain and how wind reaches the proposed structure.
Do not assume that an existing deck, patio, or retaining wall can carry additional loads without verification. Where soil stability, slopes, trees, or existing structures raise questions, consult a qualified local professional.
3. Building on an Inadequate or Uneven Foundation
A weak foundation is one of the most expensive outdoor structure installation mistakes to repair. Even a well-engineered kit cannot perform as intended if its support points settle, shift, or sit at inconsistent elevations.
Why it matters: Uneven bases can distort frames, affect roof alignment, create gaps, and interfere with moving components. Inadequate footings can also fail to resist the combination of downward loads, lateral forces, and wind uplift.
How to avoid it: Select the foundation design based on the structure’s loads, manufacturer specifications, soil bearing conditions, local frost considerations, and applicable codes. Depending on the project, this may involve engineered concrete footings, a suitable slab, piers, or another approved system. A thin patio slab or paving stones should never automatically be treated as a structural foundation.
Before assembly, verify footing positions, base elevations, squareness, curing requirements, and anchor placement. When attaching to a deck, confirm that loads can be transferred safely through its framing and supporting foundations rather than only through deck boards. If the existing base has cracks, voids, movement, or unknown construction, have it assessed before proceeding.
4. Ignoring Drainage and Water Management
Outdoor structures are continually exposed to rain, surface runoff, and moisture. Yet drainage is often considered only after puddles appear around the posts or water spills onto the seating area.
Why it matters: Standing water can accelerate corrosion, damage timber, stain finishes, erode soil, and contribute to foundation movement. Roof runoff can also create problems for nearby buildings or neighboring properties if it is discharged in the wrong direction.
How to avoid it: Evaluate both ground drainage and roof drainage during planning. Grade surrounding surfaces to direct water away from critical foundations and occupied areas, subject to local requirements. Identify where gutters, downspouts, internal post drains, or other outlets discharge. Keep drain paths accessible for inspection and cleaning.
For louvered pergolas or roofed gazebos, follow the manufacturer’s specified roof slope, gutter configuration, and water outlet details. Avoid blocking drainage openings with sealant or decorative finishes. Where infiltration is poor or rainfall is intense, a qualified designer may need to specify an appropriate drainage solution.
After installation, inspect the structure during a rainfall event if it is safe to do so. Look for ponding, overflowing gutters, water collecting around posts, and discharge toward walls or entrances.
5. Using the Wrong Anchors or Fastening Methods
A structure that looks stable in calm weather may behave very differently in strong winds. One particularly serious mistake is selecting anchors based on convenience instead of the substrate and design loads.
Why it matters: Anchors must transfer forces from the structure into a suitable supporting material. A fastener designed for sound concrete may not be appropriate for hollow masonry, weak concrete, timber decking, or cracked substrates. Incorrect edge distances, embedment, spacing, or installation can greatly reduce performance.
How to avoid it: Use the manufacturer-approved anchoring system or a connection design verified by a qualified engineer. Confirm the base material, anchor type, size, embedment, edge distance, corrosion resistance, and installation procedure. Match the connection to wind uplift and lateral loads, not only the structure’s own weight.
Tighten fasteners to the specified torque where required, using suitable calibrated tools. Do not substitute unspecified screws, omit brackets, or drill new holes in structural members without approval. For coastal or highly corrosive environments, confirm that fasteners and connected materials are compatible with the exposure conditions.
Important: Freestanding structures and wall-mounted structures have different load paths. A wall attachment must connect to an appropriate structural element, not merely to cladding or a decorative finish.
6. Failing to Check Local Building Codes, Permits, and Setbacks
A common assumption is that small or prefabricated outdoor structures never need approval. In reality, permitting and construction requirements vary by jurisdiction, structure type, size, height, attachment method, use, and site conditions.
Why it matters: Unapproved work can lead to inspection failures, modifications, delays, fines, insurance complications, or removal orders. Local rules may also govern property-line setbacks, easements, wind or snow loads, fire separation, drainage, and electrical work.
How to avoid it: Contact the local building or planning authority before beginning excavation or installation. Confirm whether planning permission, a building permit, engineering documentation, inspections, or trade permits are required. Review any homeowners’ association, lease, conservation, or property-specific restrictions that apply.
Remember that an exemption from one permit requirement does not necessarily exempt the project from all building, zoning, or safety rules. Wind, snow, seismic, and frost requirements are location-specific; do not apply generic internet measurements as if they were universal engineering standards.
Professional installers should retain copies of approved drawings, permits, inspections, and documented design changes. Homeowners should ask who is responsible for each approval and final sign-off.
7. Assembling Components Out of Sequence or Ignoring the Manual
Outdoor structure kits are often engineered as systems. Their installation order helps maintain alignment and ensures that critical connections are completed before loads are transferred.
Why it matters: Installing roof panels before the frame is square, permanently tightening bolts too early, or swapping similar-looking components can cause binding, misalignment, and damaged finishes. Improvised modifications may also compromise performance or warranty coverage.
How to avoid it: Review the complete current installation manual before starting. Inventory all parts and hardware, check for shipping damage, and identify components by their labels. Organize lifting equipment, access platforms, protective materials, and the number of workers needed for safe handling.
Follow the prescribed sequence for posts, beams, braces, roof components, seals, and accessories. Check level, plumb, and diagonal measurements at the stages identified by the manufacturer. Where instructions call for temporary bracing or delayed final tightening, do not skip those steps.
Stop work if components do not fit as shown. Seek clarification from the manufacturer rather than forcing connections or making uncontrolled alterations.
8. Overlooking Weather Exposure and Material Compatibility
Outdoor structures must tolerate more than an occasional light shower. Wind, UV exposure, temperature changes, snow, salt spray, and moisture can affect both the structure and the installation method.
Why it matters: Materials expand and contract. Incompatible metals may experience galvanic corrosion when moisture is present. Unprotected cuts or damaged coatings can become early failure points. Roof systems may also have defined limits for snow, wind, or operation in severe weather.
How to avoid it: Confirm that the product is suitable for the site’s climate and required design loads. Use the specified hardware, gaskets, coatings, and corrosion-resistant components. Protect freshly cut or drilled surfaces according to the manufacturer’s instructions, and observe any required movement joints or thermal clearances.
Avoid erecting large frames or roof panels during high winds or unsafe weather. For adjustable louvers, retractable canopies, or motorized accessories, follow the manufacturer’s operating limitations and storm-preparation procedures. Arrange qualified electrical installation when power is involved, including appropriate outdoor-rated equipment and required protection.
9. Skipping Final Inspection and Maintenance Planning
Installation is not complete when the last visible screw is installed. A final quality check is essential, and the owner needs a practical maintenance plan.
Why it matters: A missed fastener, obstructed drain, incomplete seal, or incorrectly adjusted mechanism may not become obvious until the first storm. Without records, future service teams may struggle to identify components or determine whether repairs are needed.
How to avoid it: Perform a structured final inspection against the manufacturer’s checklist and any approved plans. Confirm post alignment, critical connections, specified fastener tightening, roof operation, drainage flow, finish condition, and electrical functionality where applicable.
Give the owner installation documentation, applicable warranty information, operating instructions, inspection records, and a maintenance schedule. Recommend periodic checks after severe weather and at intervals specified by the manufacturer. Inspection should include loose or damaged connections, seal deterioration, debris in drainage channels, corrosion, and signs of settlement.
Where safety-critical defects or unexplained movement are found, stop using the affected structure until a competent professional assesses it.
Outdoor Structure Installation Checklist: Before, During, and After
Use this quick checklist as a practical handover tool. It complements, but never replaces, the product instructions, approved engineering, and local legal requirements.
| Stage | Essential checks |
|---|---|
| Before ordering | Confirm exact product dimensions, post locations, overhead clearance, and usable space. |
| Site assessment | Review slope, soil conditions, utilities, setbacks, access, and exposure to wind and rain. |
| Approvals | Check permits, design loads, inspections, and applicable local construction requirements. |
| Foundation | Verify approved foundation type, support locations, level, curing, and structural capacity. |
| Drainage | Plan surface runoff, gutter outlets, discharge points, and cleaning access. |
| Anchoring | Confirm suitable substrate, specified anchors, corrosion protection, and installation procedure. |
| Assembly | Follow the correct sequence; measure plumb, level, and diagonals; avoid unauthorized modifications. |
| Handover | Inspect connections and operation; provide instructions, warranties, and maintenance guidance. |
Frequently Asked Questions About Outdoor Structure Installation
Do I need a concrete foundation for a pergola or gazebo?
Not always. The correct foundation depends on the structure’s design, loads, ground conditions, and local requirements. Some systems use engineered footings or piers; others may be approved for specific structural slabs or supporting frames. Follow the manufacturer’s requirements and seek engineering advice when needed.
Can I install an outdoor structure on an existing patio or deck?
Possibly, but appearance alone does not establish structural capacity. The patio or deck must be assessed for its ability to carry loads and resist uplift and lateral forces through an appropriate load path. Anchoring into pavers or decking boards alone is generally not a substitute for a designed structural connection.
How can I prevent water pooling around gazebo posts?
Check the grading of surrounding surfaces, the location of roof discharge points, and whether gutters or drains are blocked. The solution should direct water safely away without damaging neighboring property or undermining foundations. Persistent pooling may need a site-specific drainage assessment.
Does a small outdoor structure require a building permit?
Requirements vary significantly. Some jurisdictions exempt certain small detached structures from specific permits, while still enforcing zoning, setback, electrical, structural, or other rules. Always verify the requirements with the authority responsible for your property before work begins.
What is the most important step before installing a pergola?
Verify the complete site and installation requirements before buying materials or preparing foundations. Accurate dimensions, an appropriate foundation design, drainage planning, anchor selection, and local approvals work together; overlooking any one of them can compromise the finished installation.
Final Thoughts: Install Once, Install Correctly
Most outdoor structure installation mistakes begin before the first post is raised. Insufficient measurements, unsuitable foundations, neglected drainage, incorrect anchors, and missing approvals can turn a straightforward project into an expensive repair.
A better approach is to measure carefully, assess the site, follow the approved installation system, and document the completed work. For professional installers, these practices support consistent workmanship and clearer customer handovers. For homeowners and other end users, they protect the investment and help keep the outdoor space safe and usable for years to come.
Before starting your next pergola, gazebo, patio cover, or garden shelter project, review the product-specific installation manual and speak with your local building authority or a qualified professional whenever conditions are uncertain.
References and Further Reading
- TrustMark — Installing a Garden Building: General guidance on site planning, foundations, and garden-building installation.
- Welsh Government — Building Regulations: Outbuildings, Foundations: Overview of the factors affecting foundation design, including soil and site conditions.
- Municipality of Anchorage — Permit Requirements: An example of jurisdiction-specific permitting rules; not a universal requirement.
Disclaimer: This article provides general educational guidance, not project-specific structural engineering or legal advice. Follow the manufacturer’s instructions and the requirements of the authority having jurisdiction.